It's not easy to get around in Jeju island. Almost all the scenic places worth going to were spread out along the coastal areas, & the only way to get there was by car, which generally mean taxi. Meter starts at 2000 krw (RM6) and every jump is 200 krw (RM0.6).

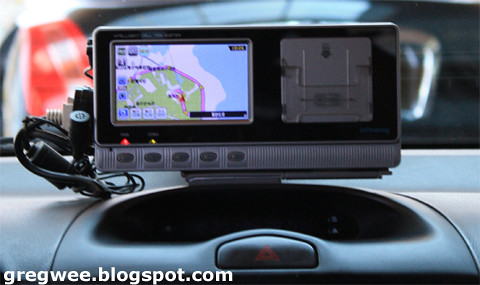
Car rental is the next best as Jeju roads are comfortable to drive on and all vehicles have GPRS. Rental generally costs about RM300 per day and above but you'd need an international driver's license. We didn't have that so the only option for us was to hire a taxi driver for about the same rate. And boy, were we glad we did.
We were very, very, & very lucky to have met Mr Richard Kim, a taxi driver who took us from Sashimi St to another stretch to coastal road on Day 3. The best thing was that Mr Kim could speak Mandarin, after having worked (& studied, I think) in Taiwan for a many number of years. After his retirement, Mr Kim decided to drive taxis for a living, to start a new life, as it enabled him to meet different people from all over the world. Interestingly, he keeps a journal of everyone that steps into his taxi & plans to write a book about his experiences one day. We were simply awed by his passion, sincerity, commitment & drive (pun intended).
Ladies & Gentlemen, we have the honour of introducing our taxi driver friend to you -
Mr. Richard Kim Sang Ryul (email: skimsr@hanmail.net, mobile: 011-710-0065) You are welcome to contact him when you're planning a trip down to Jeju. He comes highly recommended from Greg & Nee.

What Mr Kim does every morning before he picks up passengers for a day tour is to check his tires, & apparently that morning, there was a bit of a puncture, but he got that fixed before picking us up at our hotel at 930 am. For 120,000 krw (RM360) for 10 hours or so, we get our wheels, our guide and our photographer.

We had a rough plan about where we wanted to go but it depended on time as well as logistics. There were only 3 requirements from us:
1) Beautiful scenic touristy places which we should not miss
2) Beautiful flowers which we kept seeing in the travel guides but didn't know where they were
3) Top secret food that only the locals know
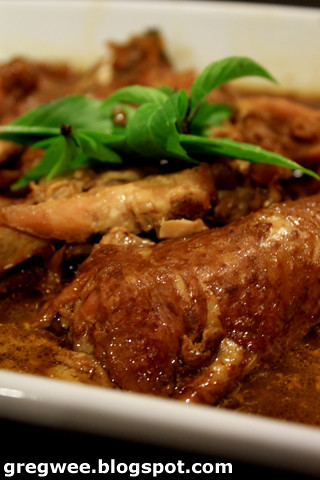
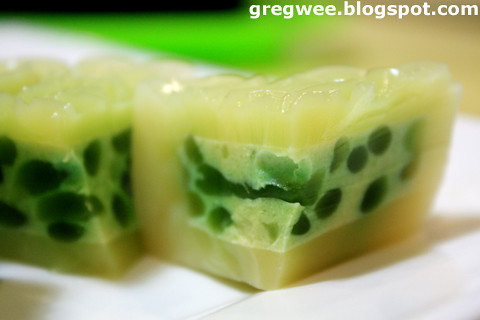
This was obviously not food.
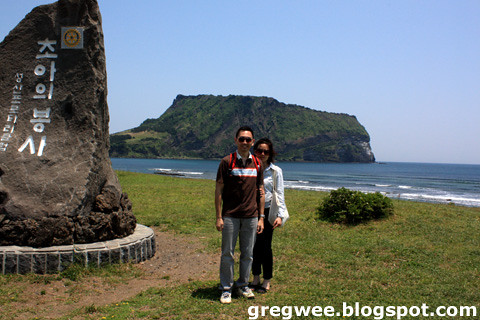
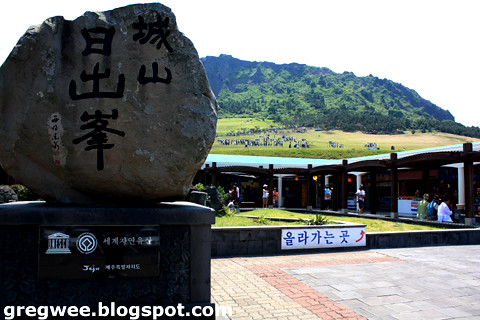
 We kept seeing this in the travel guides & it looked like a place where all the other tourists would be at. This was Seongsan Ilchubong, a 182 metre high volcano crater at the end of the Seongsan peninsula, 48 km east of Jeju City.
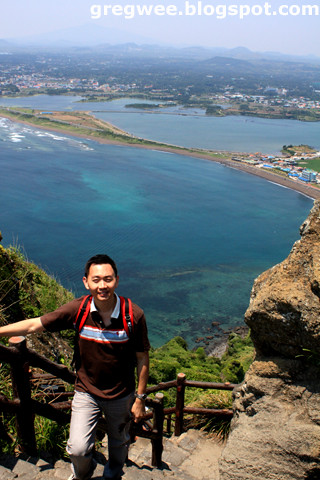
This photo was taken by our friendly Mr Kim. We made a short stop for photographs on the way towards the Sunrise Peak.
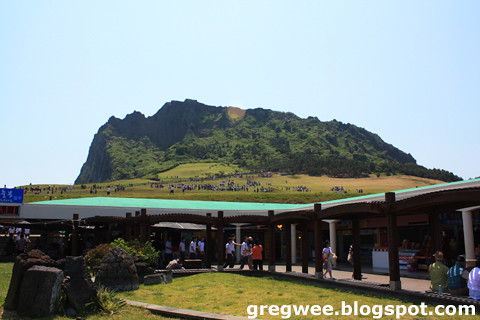
 The name Ilchulbong comes from its famous view of the sunrise but there was no way Greg & Nee would wake up early to watch the sun rise.
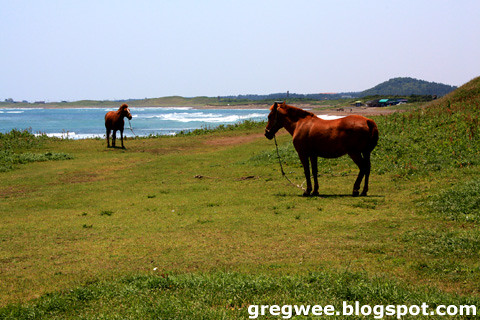
Jeju once had a lot of these short brown Mongolian horses which were bred to pay tribute to the Won Dynasty in China between 1073-1258. During those days, there were about 20,000. That morning, there were only two in front of us.

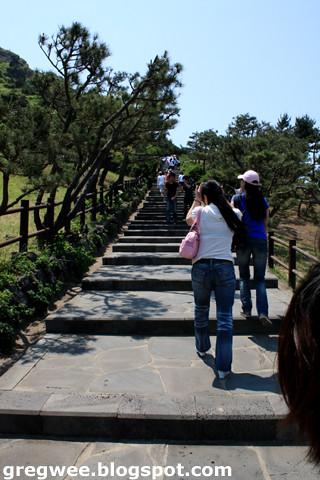
This was the main entrance to the Sunrise Peak. When we got there, we finally realised that this was where all the people in Jeju were .

Admission was about 2,200 won (Rm6.60) which was extremely cheap & you can see the long trail of people going up the peak like ants.

The place was crawling with noisy & sweaty Korean school teens who kept popping up in my photos.

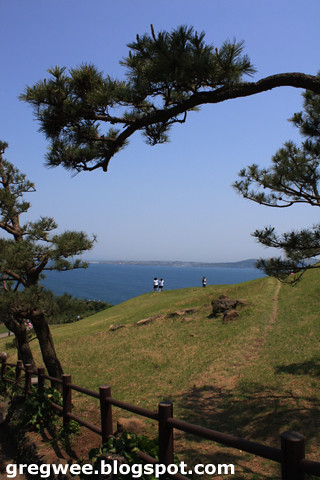
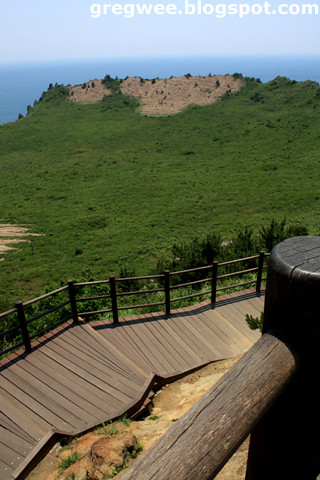
The nice thing about this place was that half of the climb was a gentle slope that opens up like a field of grass into the vast blue ocean.

I almost wanted to do the Sound of Music twirl & run all the way to the edge of the cliff.

But Nee was watching so I didn't.
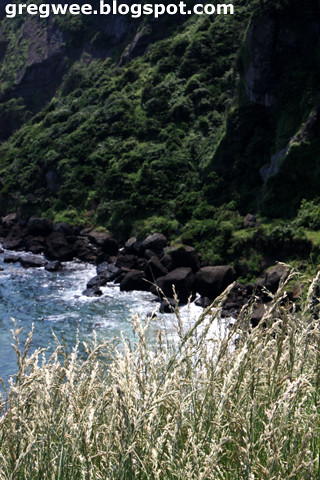
And then the other half was a steep mountain that drops down into the sea like a heavy wall of black lava rocks.

The view here was magnificent. I don't know how to tell you & I don't think these photos could convey the actual experience of being there.


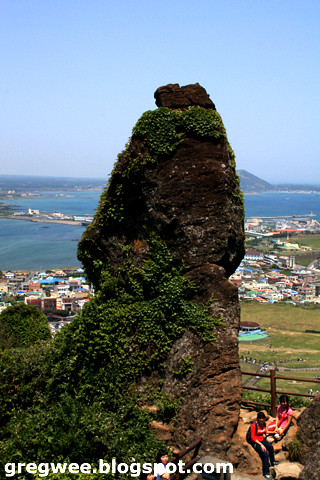
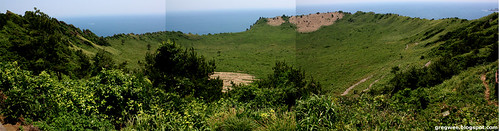
Surrounding the crater are 99 of these strange rock formations which forms a crown along the circular perimeter of the crater's mouth.


The steep climb up the wooden staircase was as breathtaking as the scenery itself. However, there were platforms & stops to catch your breath.


But strangely, when you reach the apex, it felt a bit like a letdown. The real basin didn't feel like the gigantic crater photo in the travel guide.

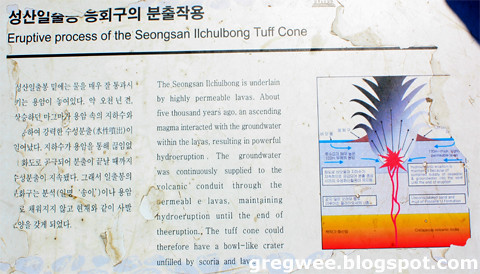
Here's an explanation of the formation process for those who are more scientifically inclined.


Somehow, this gave me the same feeling as when I order a puffy Big Mac Value Meal but getting a deflated one instead.