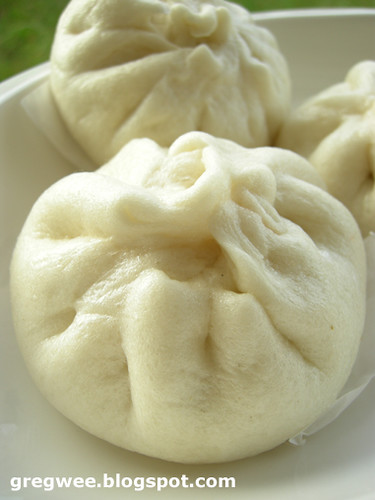
I love making Chinese white paos, and of course eating them as well. The best part is making them over the weekend, then storing them in the fridge, to be steamed up and eaten over the week. It makes morning breakfast much faster and easier, which is equal to waking up slightly later. Yes, you guessed it right, we are not those insane early birds. And I am not about to wake at 5 am to make paos for Greg.
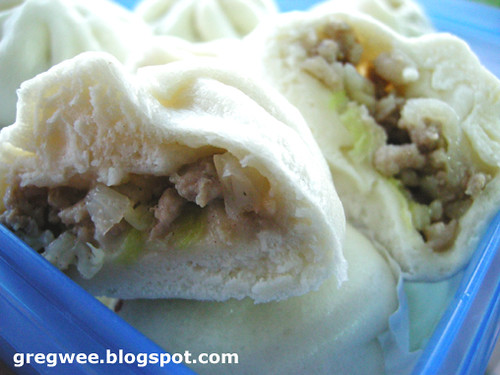
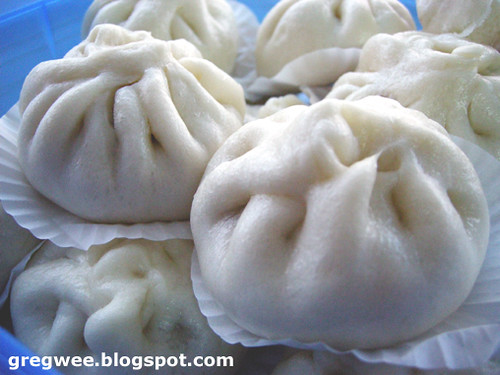
I have never blogged about white paos before because I'm never really confident in making paos that are up-to-standard, in terms of the look. Even now I still cannot get 100% good looking paos - those with super smooth surface and white ones. In terms of taste, Greg and my FIL love them because homemade ones are always so packed with fillings. And if done right, they will be fluffy and will not stick to your teeth when you bite into them. I guess paos are one of those things that look simple to make and will generally be edible, but to make it great in terms of both taste and look, many little steps must be well executed.
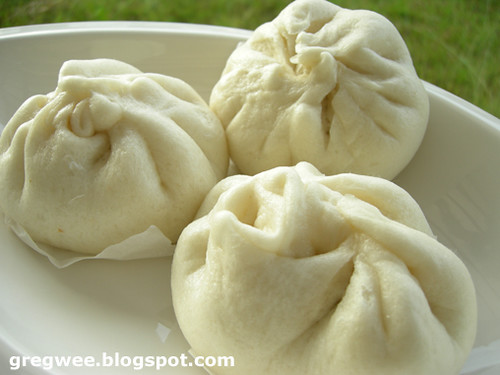
As a standard, there are basically two types of recipes. The first is is the basic dough ones, which is very simple throw everything in and hence, fast. The results are generally good but if compared side by side with type 2, it tends to be tighter in terms of wrapping and bites.
Type 2 is a something like the sponge and dough method which requires an dough starter. Type 2 produces very nice, fluffy paos and if i put next to Type 1, this type is slightly smoother and whiter. And of course there is the Type 3 smiling pao, which needs a 2-day old dough starter to start , ammonia and all the stuffs and the good paos will crack up as if they are smiling and hence the name. Good smiling paus are light and fluffy.
Which ever type it is, there are generally a few standard rules to ensure good paos.
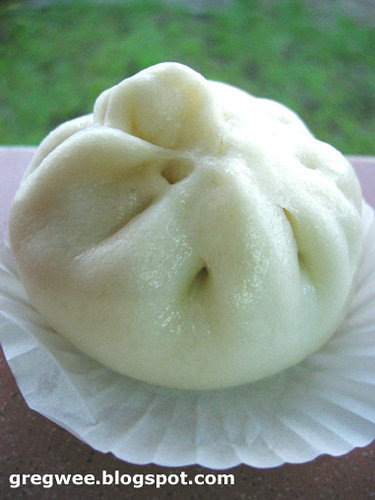
1) Good pao dough will not stick on three things ~ the bowl, the table and your hands. It is soft but not sticky. So definitely it will not stick on teeth when you chew on them.
2) It should be so well kneaded that when you slice through the dough, the inner part is smooth and practically has little or no airholes
3) Good kneading will gives whiter paos. Interesting, isnt it?
4) Do not overproof paos. It does not make it airier but rather it will create wrinkly or pocky faced after steaming.
5) Steam paos on med-hi fire, not high because high heat causes wrinkly surface or pocky face paus.
6) Do not remove steamer from the bottom boiling water or take off the lid immediately. Let paos sit in steamer at low fire for 1 min, remove steamer from hot water and let it sit on a edited: I think it is better to sit over say an wire mesh cake stand or on top of the sink (for cold air from bottom to flow upwards, pushing the hot air out) for 30 secs before removing the lid. This step will help in having smooth surface pao. The concept is we dont want a sudden difference in temperature.
Type 1: Basic Quick Pao Dough
500gm of good quality superwhite pao flour
100gm of icing sugar
50 gm of shortening/crisco
2 teasp of instant yeast
230-250 gm of room temperature water
1) Place sifted flour with sugar and yeast in a mixing bowl. With a dough beater, turn on low and mix the dry.
2) Add water, followed by shortening. Mix until all ingredients come together into a smooth dough that does not stick onto the bowl. I would generally hand knead (motion of washing clothes) as I go along. Using a dough cutter, cut and check cut surface. Dough is only ready if the surface is very smooth. Rest cover for 15 min.
3) Divide into equal balls and roll each balls into a small round smooth dough. If you are making a small recipe (say 1/2 of the above recipe), the balls at this stage should rest for 10 min. But if you make this quantity, by the time you shape the last ball, the first ball should be well rested already. You can proceed with wrapping the first ball.
4) Start wrapping and shaping with filling. Rest for another 10-15 min (depending on how fast you can wrap a tray of pao for steaming. If you are very slow, then rest for 10 min only. otherwise the first paos will be rested too long). Steam as per Rule 4 and 5.

 Assam Fish is a favourite Malay dish, which is sourish with a zest of spiciness. Fish cooked in assam sauce (tamarind sauce) makes the sauce sweet as well. Whenever I think of Assam Fish, I will kind of salivate on the both sides of my tongue. (Greg: I didn't know it's possible to do that)
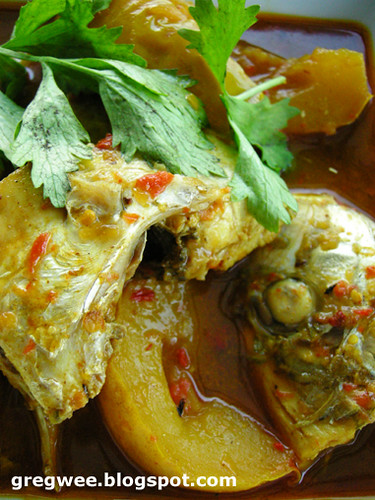


 So what was supposed to be an affordable trip turned out to be an expensive one.
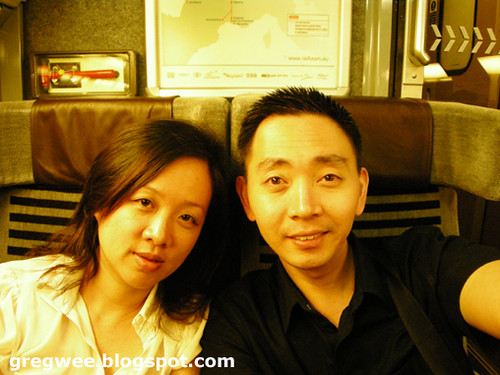 It took about 2.5 hours to reach the other side of the English Channel. We passed some English suburbs before dipping underground (under the sea) & then rising back up to French vineyards & farms on the other side of the Channel.
 Armed with just a few phrases like Bon Jour, Bon Soir, Bonne Nuit, Merci, Pardon & S'il Vous Plait (& I could only count to six), we were sort of ready to experience the infamous 'hospitality' of the French that we've heard so much about.
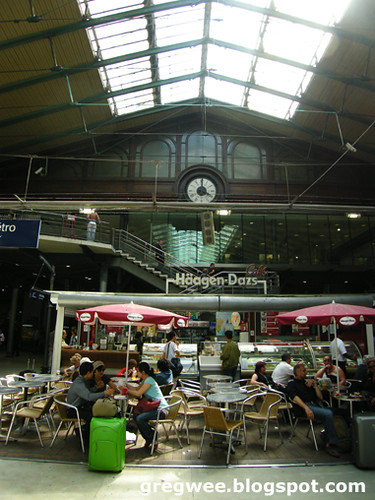


 The Transport For London website is at